Cup-and-Ring Stone: OS Grid Reference – SE 01343 50223
Getting Here
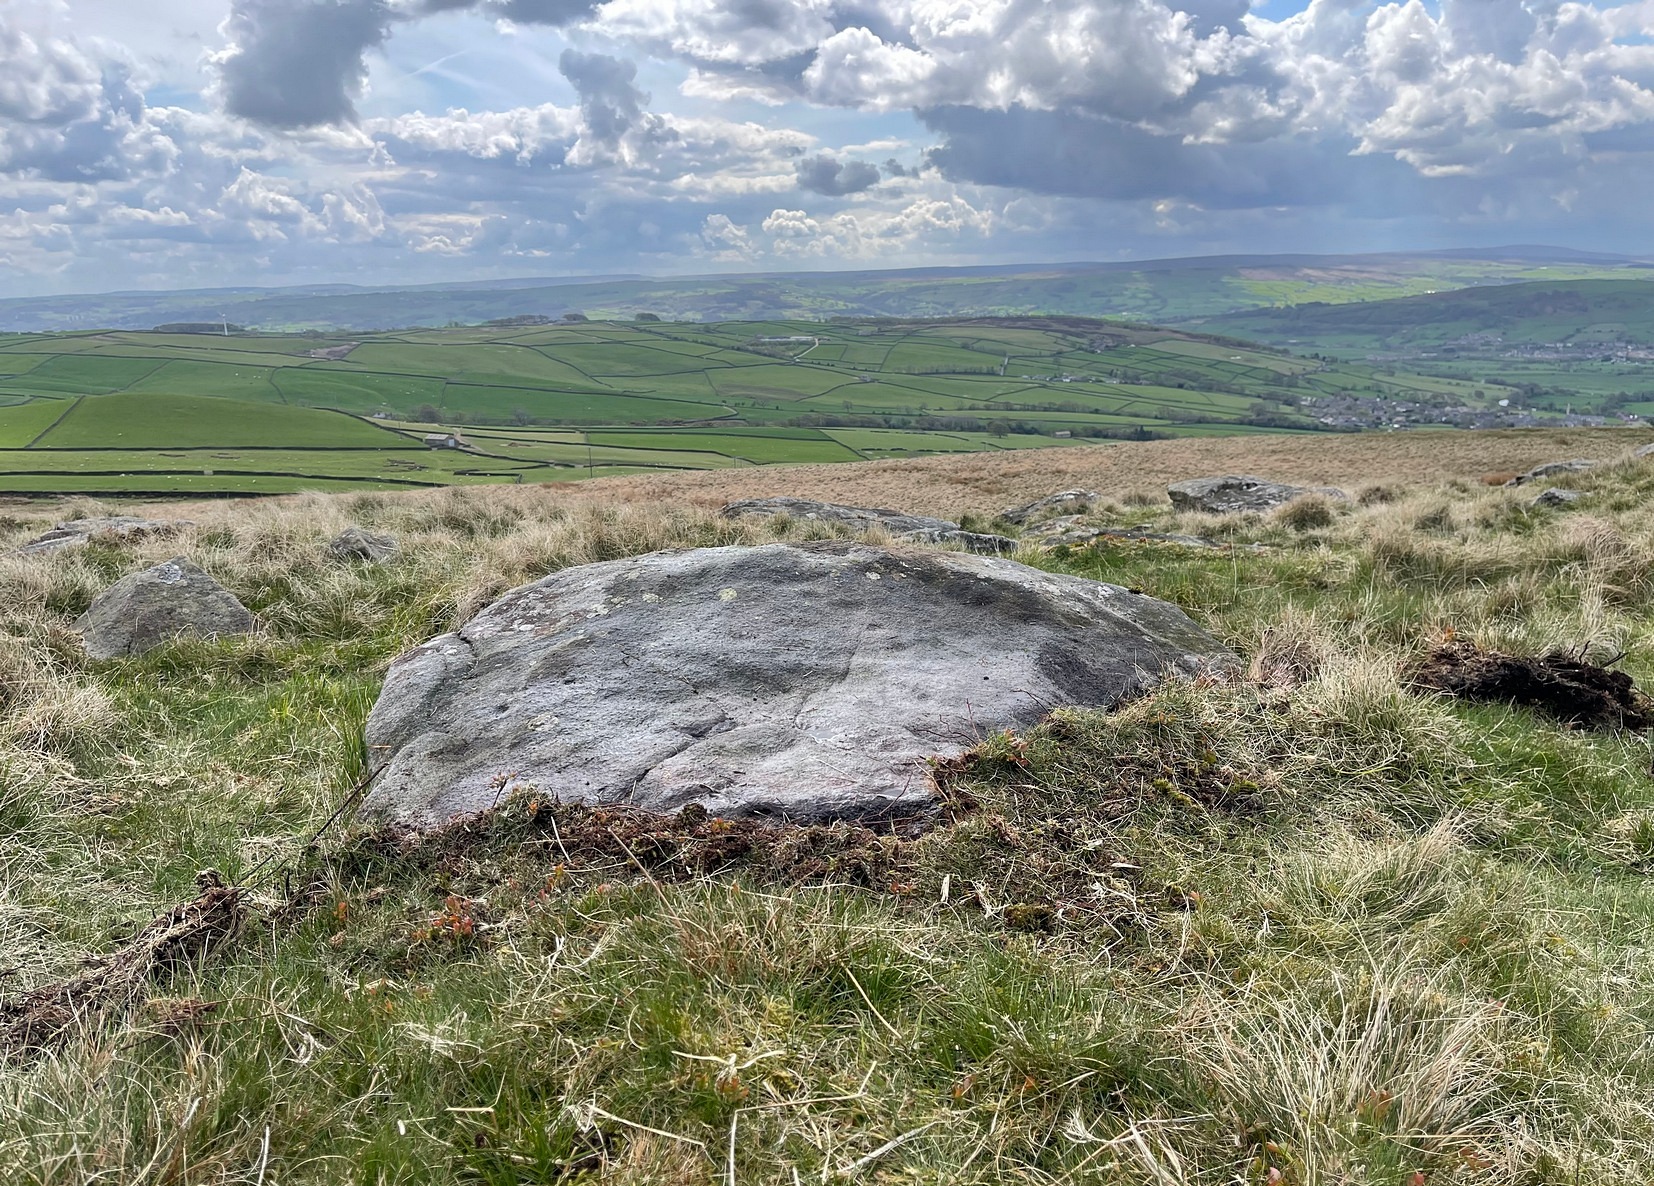
In High Bradley village, you need to go up Mill Lane for 140 yards and then bear left up High Bradley Lane for just over a half-mile, past the last row of houses on your left where it becomes a dirt-track and park-up a short distance up here. 400 yards up, in the field past the new house on your left, walk up the hill over the field, past the wall at the top and head for the large protruding boulder a few hundred yards further up on the near skyline. Once here, walk to the right of it and there’s a scatter of rocks and stones. Look around!
Archaeology & History
In an area that was extensively cut up by the Industrialists in the 18th and 19th century, Thomas Cleland came across this scarce example of a cup-marked, possibly cup-and-ring marked stone in March 2025 high up on Millstone Hill, where extensive views reach out to the south, east and west, gazing with particular attention to the mightily impressive King and Queen’s cairns, more than 1½ (2.6km) south of here—and which would have stood out much more back then than they do today.
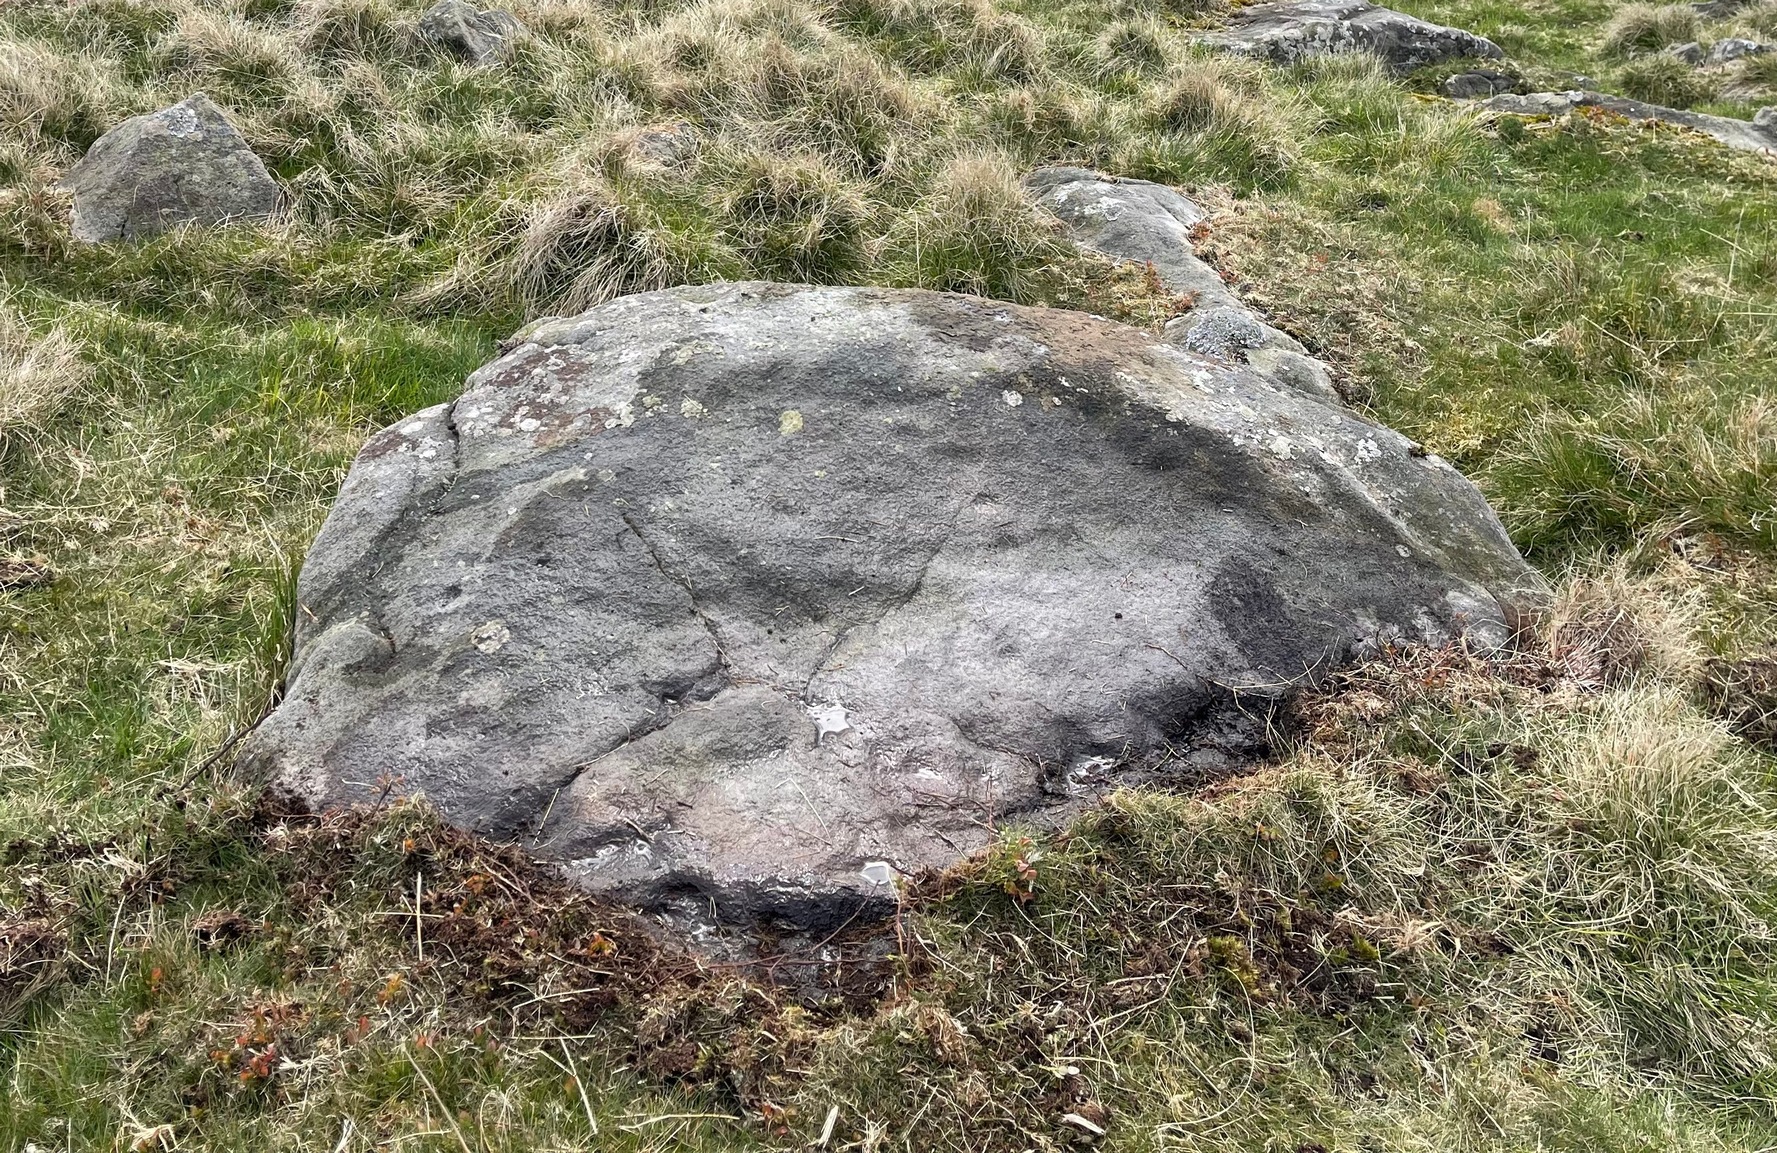
An arc of cups is faintly visible on the more western-side of the stone—five, perhaps six of them. Several others are in a typically chaotic scatter across the rock, with one or two looking as if they may have been affected by the heavy industrial actions that occurred up here. When Tom first found the carving, he could see a faint ring around one of the cups near the middle of the stone, but on our visit here the sun was near its apogee and due to the slope of the rock to the north where the cups are carved, this was nigh on impossible to make out. Near the bottom edge however (as shown in the photos), a cup-and-incomplete ring seems evident; although we didn’t notice this on our visit here and it may just be a fortuitous play of the light (but I hope I’m wrong!). This is a design that mainly comes to life, so to speak, is more easily visible, when the sun is either rising or setting. (typical of many petroglyphs on flat rocks)
Acknowledgements: Huge thanks to Thomas Cleland for use of his photos in this site profile.
© Paul Bennett, The Northern Antiquarian
The map could not be loaded. Please contact the site owner.